Toolbar
Introduction
Situated at the top of the main page, the toolbar in Devtool houses the most frequently utilized features in the IDE. This guide will walk you through these features from left to right.

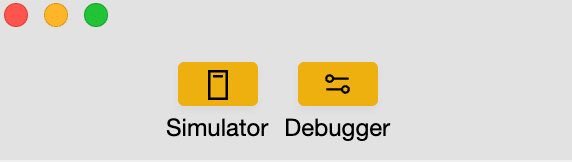
Toggle UI
By clicking 'Editor', 'Debugger', 'Simulator', you can show and hide these three areas respectively.
Refer to 'IDE Debugging' and 'Simulator' documents for more information.
Main Features
Compile Mode
By default, the initial startup page of the mini-app is the first page listed in the app.json file without any parameters.
To facilitate debugging of other pages or setting parameters, follow these steps:
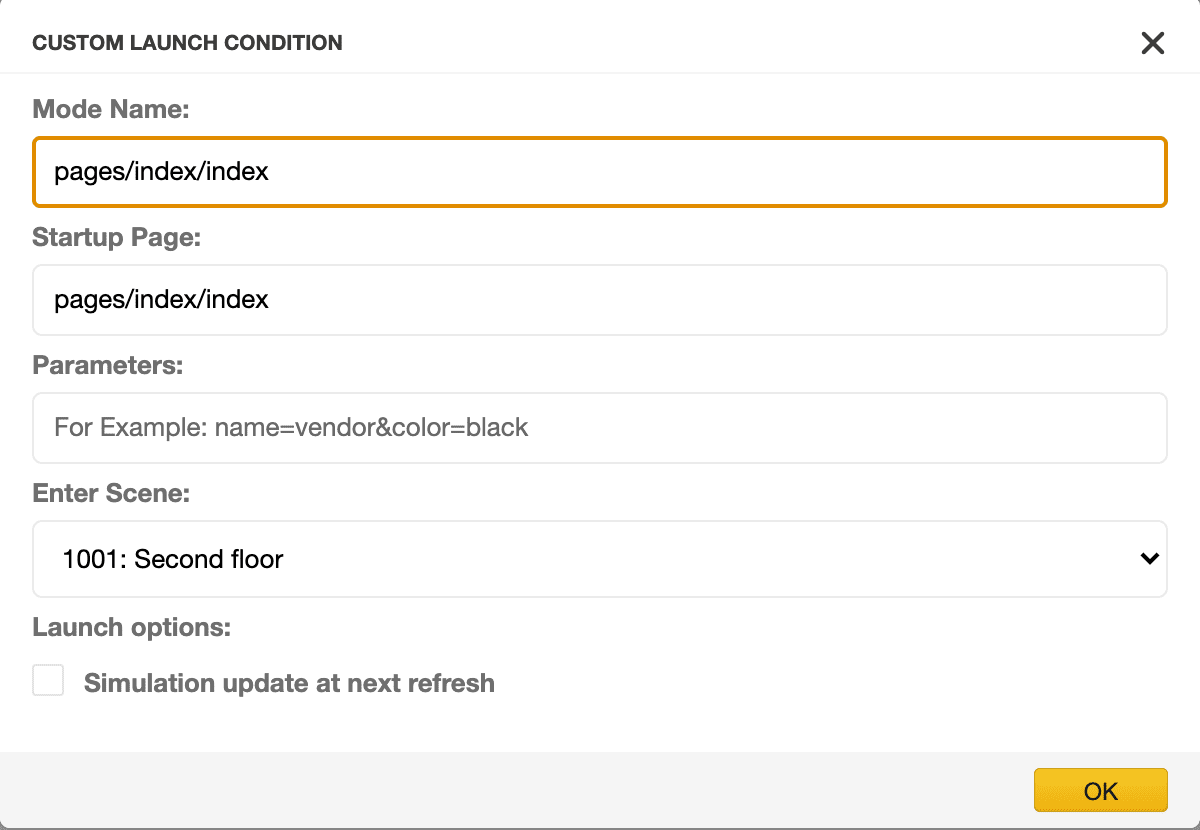
- Click the '+' sign in the dropdown list of this item to add a compile mode.
- In the pop-up window, fill out the 'Mode Name', 'Page Parameters', and 'Global Parameters'. Then, select the 'Start Page' and click 'OK'.
- The simulator will now display the new startup page with parameters automatically included.
Note: Check 'Simulation update at next refresh' in the pop-up window if you wish to simulate the effect of applet updating. See the 'UpdateManager' documentation for more details.
Preview
Use real machine preview to check the functioning of the API in a mini app.
Remote Debug
Developers can inspect logs and elements from the native IDE using remote debugging. Refer to the 'remote-debug' document for more information.
Clear Cache
Clear authorization data and file cache with a single click.
Upload
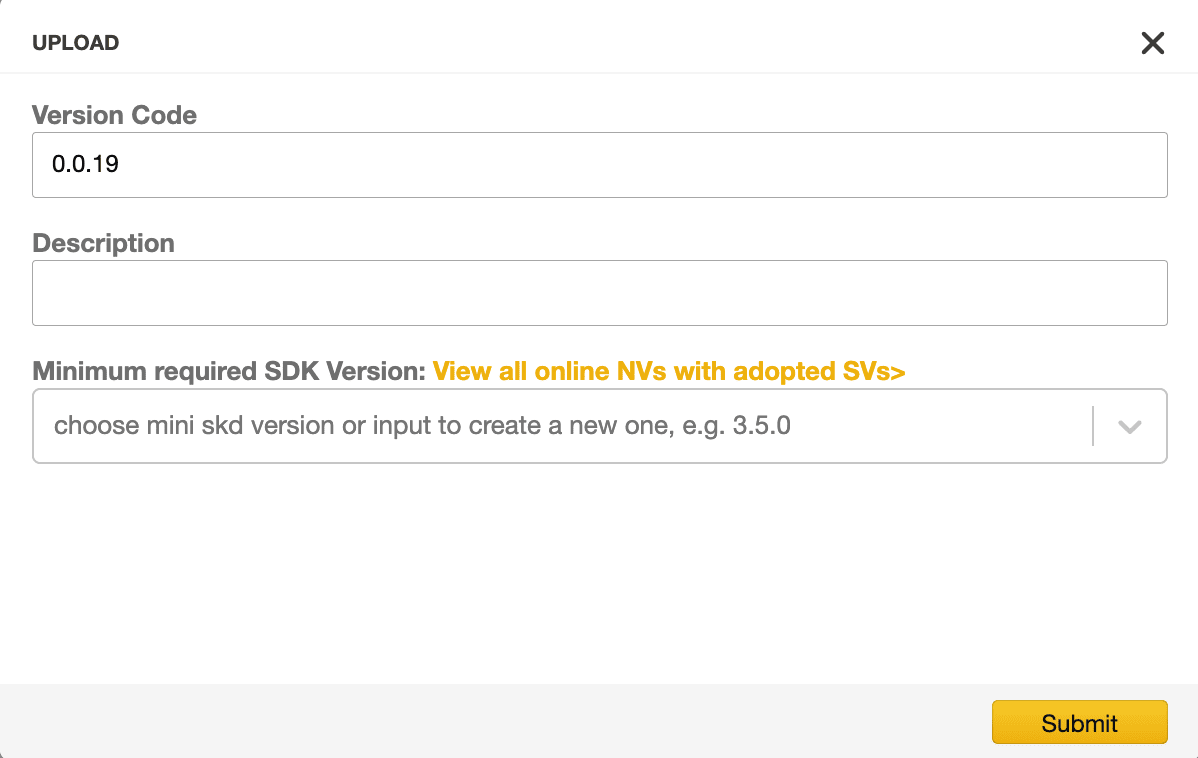
This feature allows you to upload your project code to the backend. The options available before uploading include:
- Upload version: Each time you upload, the version is incremented by 0.0.1 by default. This version should be greater than the online version to ensure each code version in the backend is unique.
- MSV: This stands for the minimum required SDK Version for your app. This is the lowest version your app can support.
Details
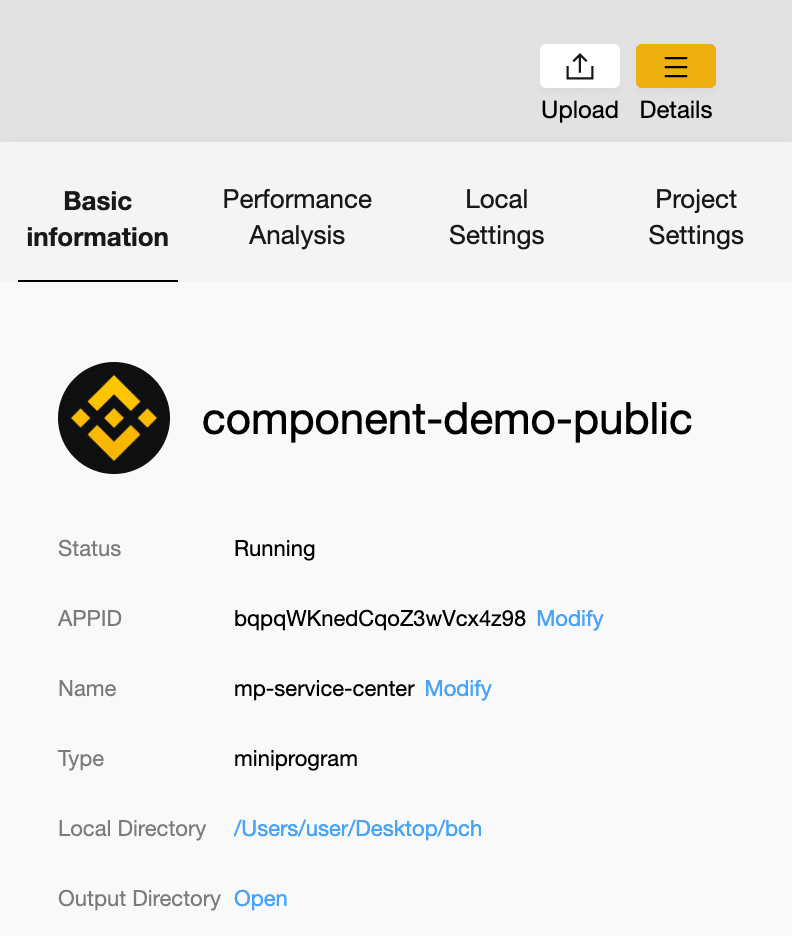
Basic Info
This includes basic information about your app such as the appid, app name, local directory, output directory, etc.
The local directory indicates where your mini-app is located.
The output directory shows where your mini-app data is stored. This data includes the bundled app generated by the internal bundler, system data created by SDK, user data generated by mini-app users, and more. Click 'open' for more details.
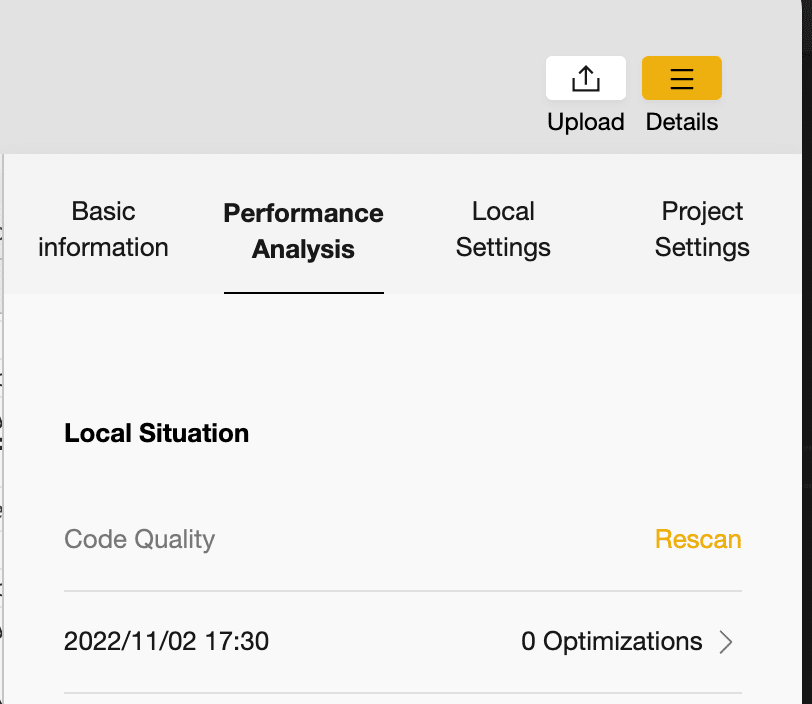
Performance Analysis
This is the same as 'Code Quality'. See the 'Code Quality' document for more details.
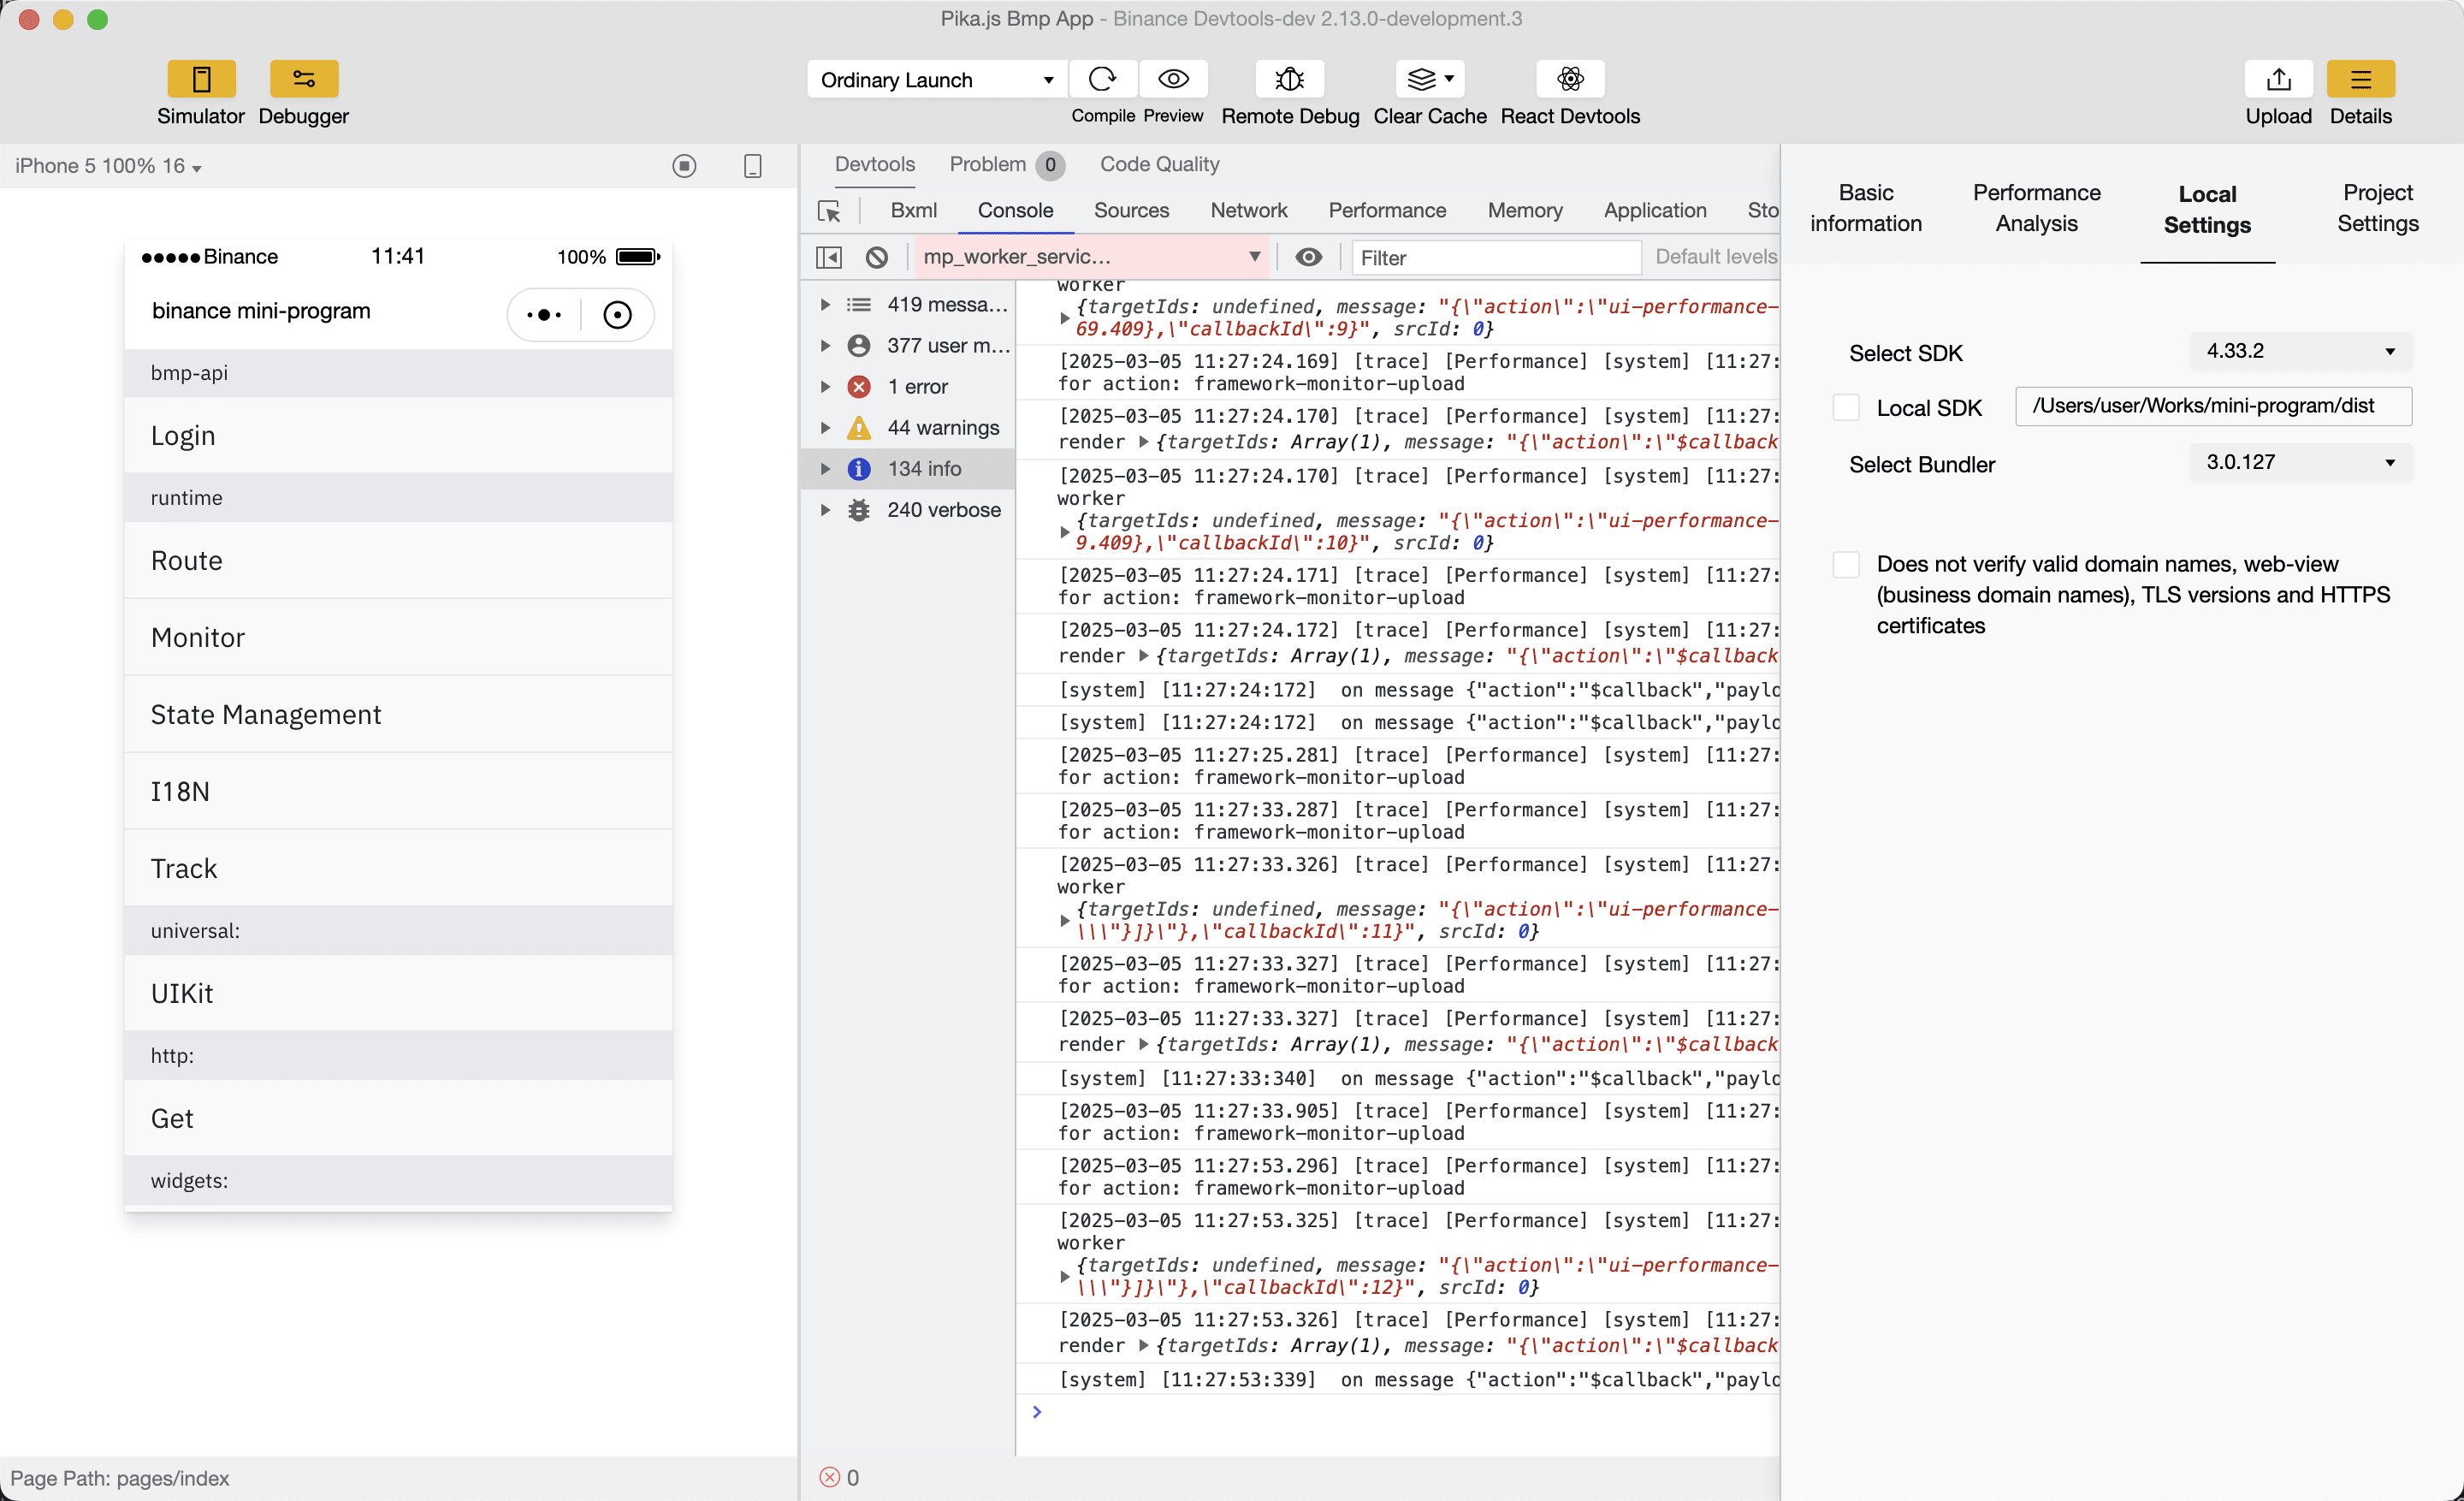
Local Setting
These settings allow developers to configure the SDK and Bundler versions, use a local SDK, and modify certain debugging behaviors.
1. Select SDK
This option lets you choose the SDK version used for running and debugging WeChat Mini Programs.
The SDK is responsible for parsing, compiling, and executing Mini Program code.
The selected version appears in the dropdown menu (e.g., 4.33.2).
Developers can switch to a different SDK version if needed for compatibility testing.
2. Local SDK
Allows developers to use a custom or locally built SDK instead of the default WeChat SDK.
You can specify the local SDK path (e.g., /Users/user/Works/mini-program/dist).
To enable this, check the checkbox next to "Local SDK."
Useful for testing modifications in the SDK or debugging specific issues.
3. Select Bundler
Determines the Bundler version used for packaging and building the Mini Program.
The Bundler is responsible for compressing, minifying, and structuring the project files.
The selected version appears in the dropdown menu (e.g., 3.0.127).
Developers can switch to a different Bundler version for performance testing or debugging.

4. Debugging Option: Disable Domain & Certificate Verification
This involves whether to check the network request of the officially released mini-program (bn.request, bn.connectSocket, bn.downloadFile, bn.uploadFile) and whether the business domain name is allowed to be loaded by the '
This option could be enabled during the development process. This way, the IDE will not verify the security domain name, '
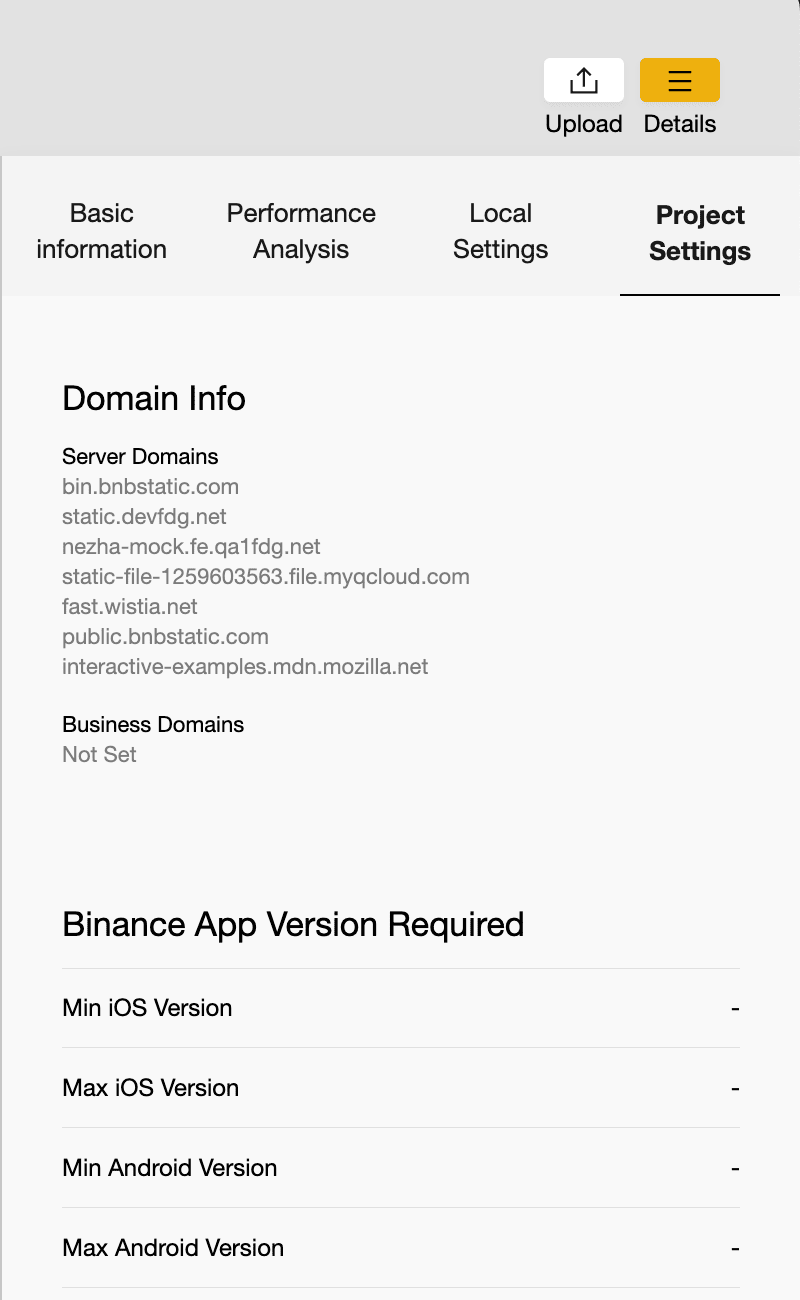
Project Setting
Domain Info fetched from backend. You can edit these items by mp-admin site.
The security domain name information of the mini app will be displayed, and the legal domain name can be set in MPP